


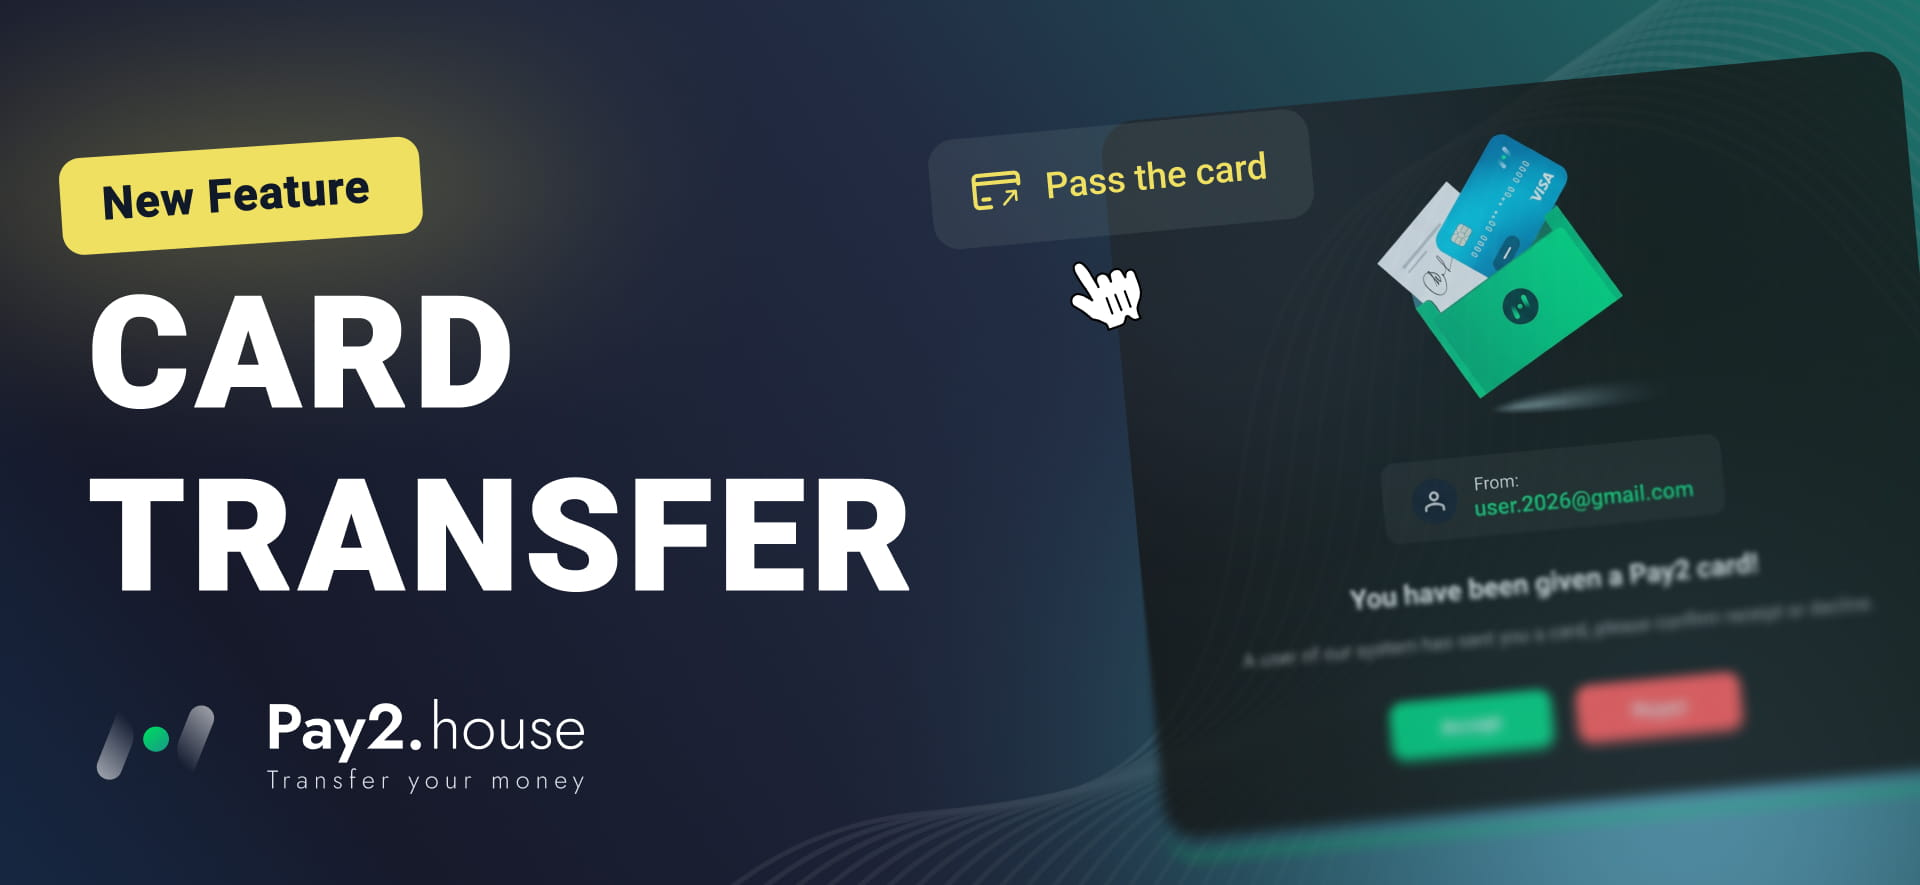
In Pay2.House, you can transfer an already issued virtual card to another registered user. This is useful if a card was issued for a colleague, employee, or another team member and now needs to be managed directly from their account.
Once the transfer is confirmed, the card will appear in the recipient's account and will be available for further use.
In this step-by-step guide, we explain how to transfer a virtual card in Pay2.House and what the recipient needs to do to accept it.
What You Need Before Transferring a Card
Before you can transfer a card, you need to have an active virtual card already issued in Pay2.House.
If you are just getting started with the service and have not issued a card yet, use our guide “How to Get Started with Pay2.House: Step-by-Step Guide After Registration”. It explains how to register, fund your account, issue your first virtual card, and connect Google Authenticator.
The user you want to transfer the card to must also:
-
have a registered Pay2.House account;
-
have access to the email address linked to their account;
-
have Google Authenticator enabled for two-factor authentication.
Important: each virtual card can only be transferred to another user once. After the recipient confirms the transfer and the card appears in their account, it cannot be transferred again to another user.
Which Cards Can Be Transferred
Pay2.House allows you to transfer both Standard Cards and Personal Cards, but the requirements are different.
A Standard Card can be transferred to another registered Pay2.House user.
To transfer a Personal Card, both accounts must be verified. This means that both the user transferring the Personal Card and the user receiving it must complete account verification.
Step 1. Select the Card You Want to Transfer
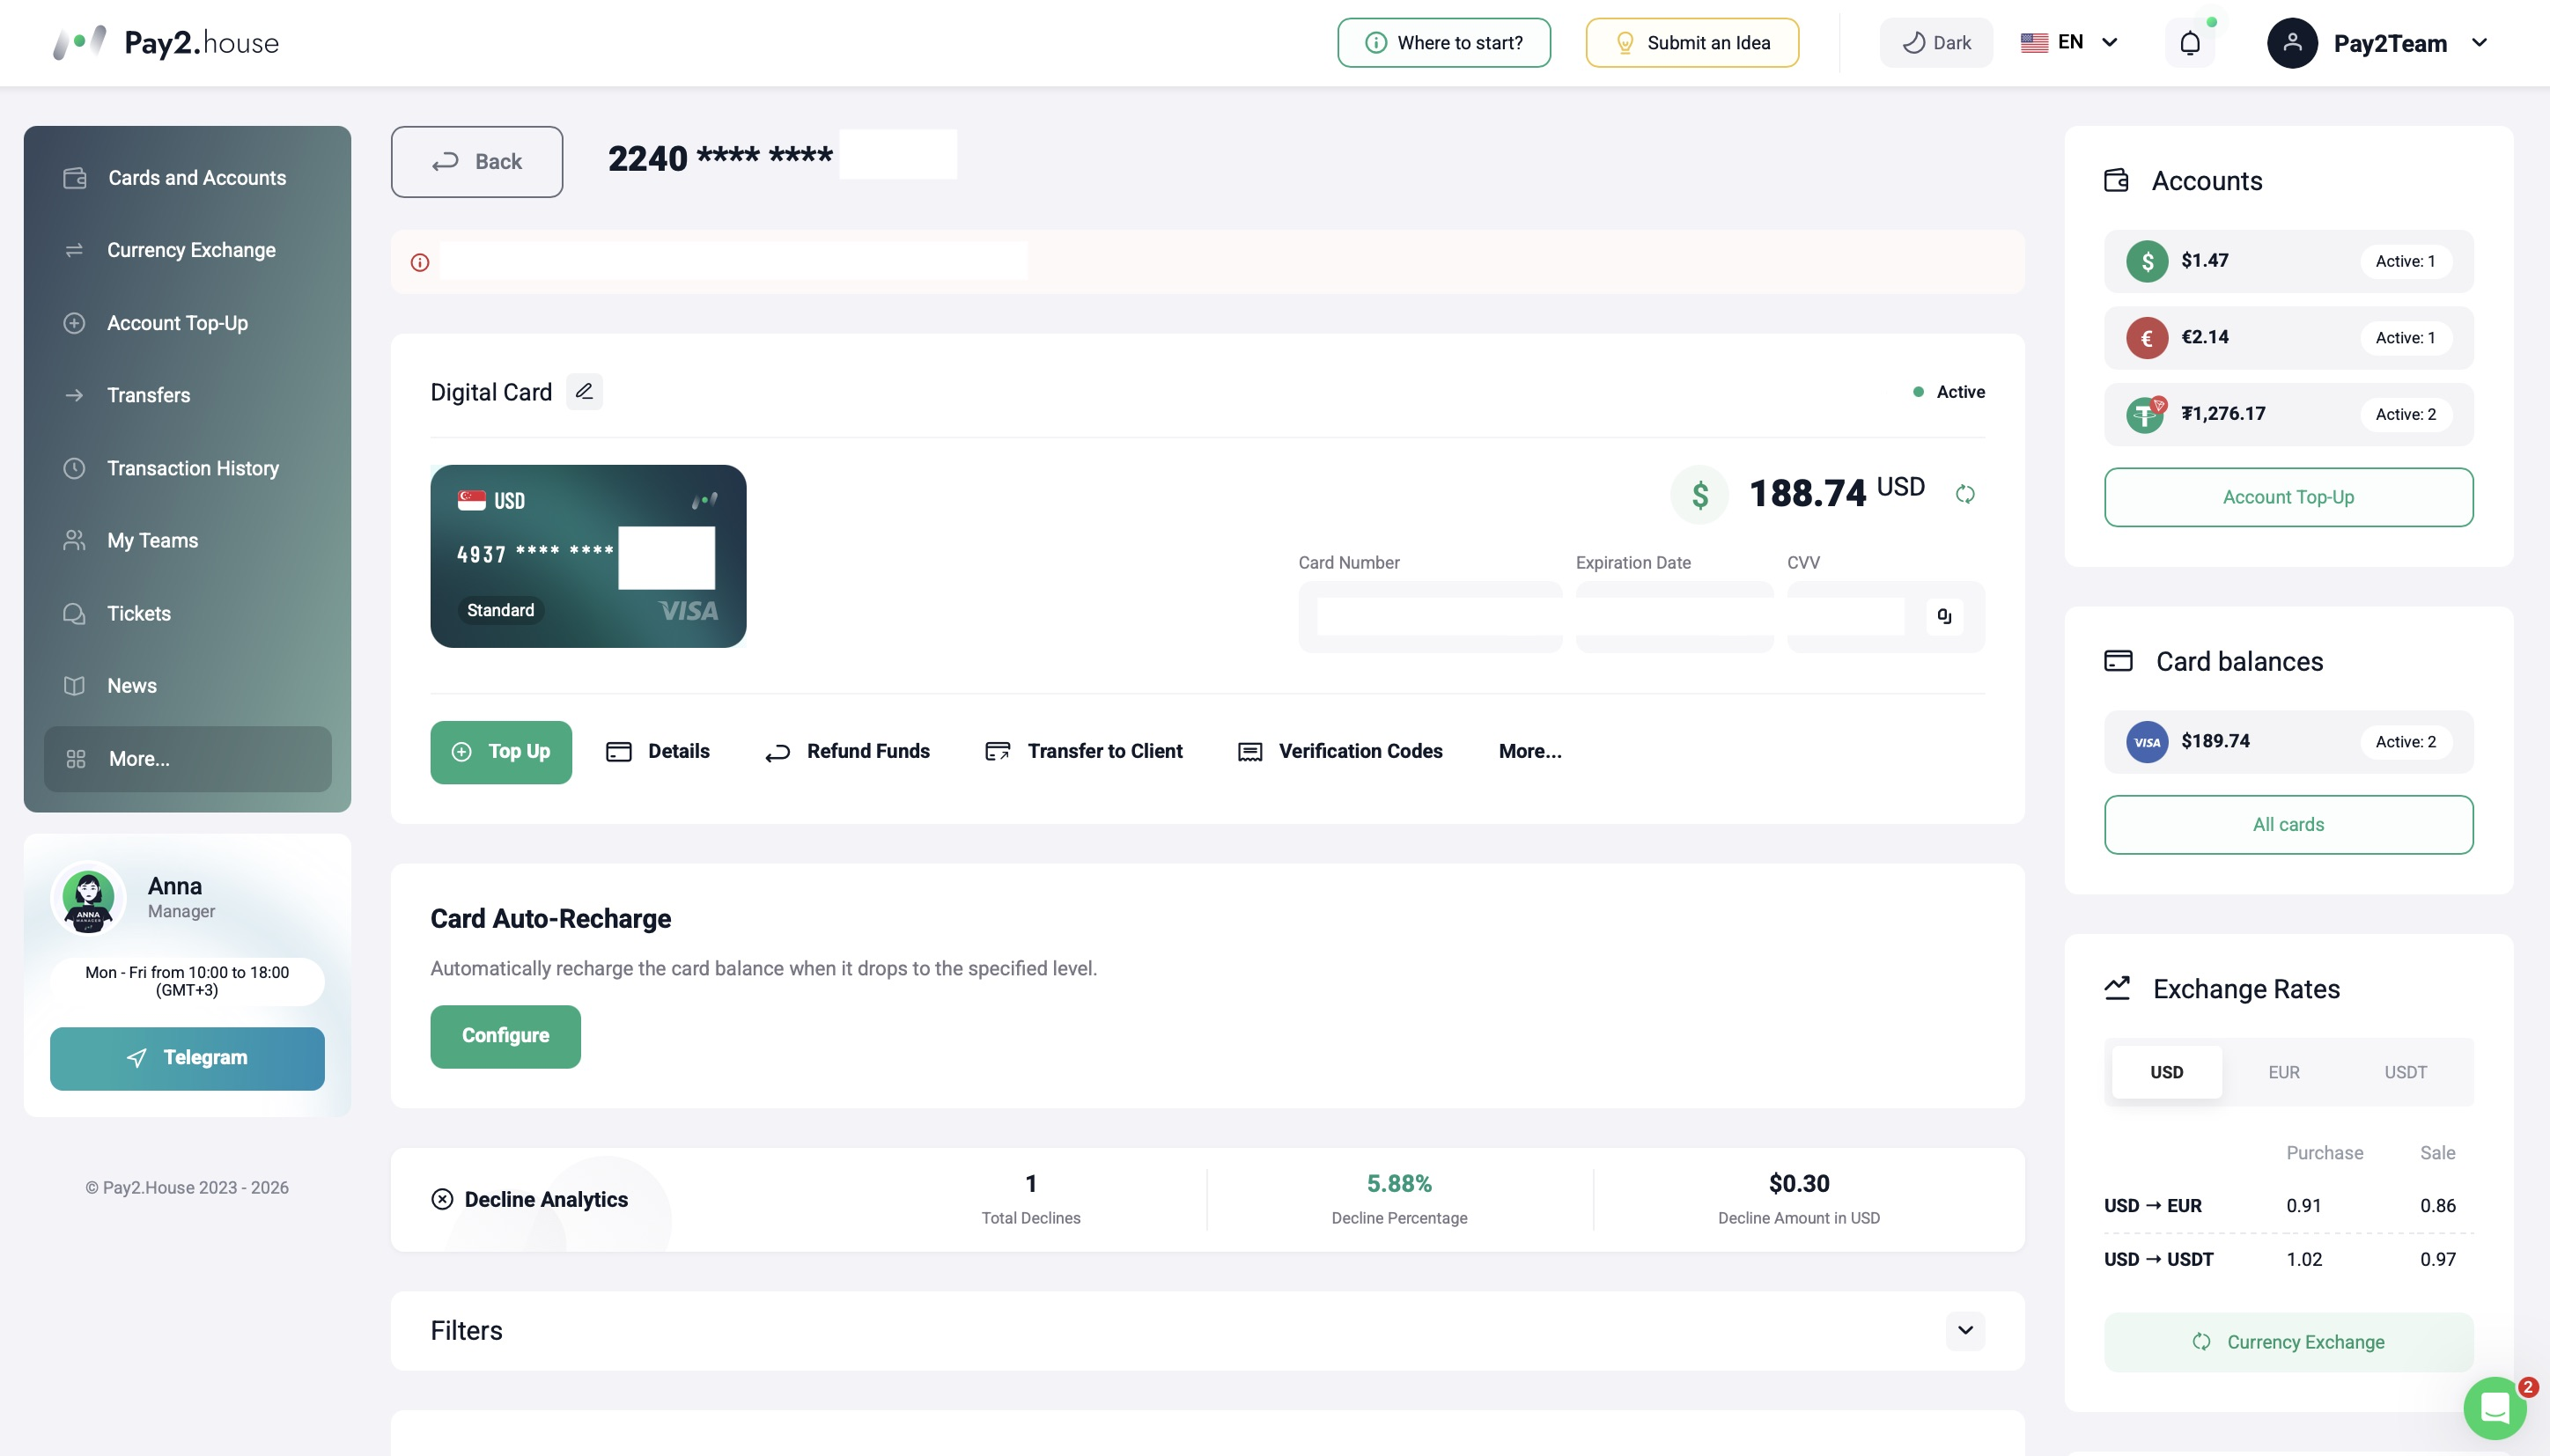
Go to the “Cards and Accounts” section in your Pay2.House account.
Select the virtual card you want to transfer to another user and open it.
In the card management menu, click “Transfer to Client”.
Step 2. Enter the Recipient's Email
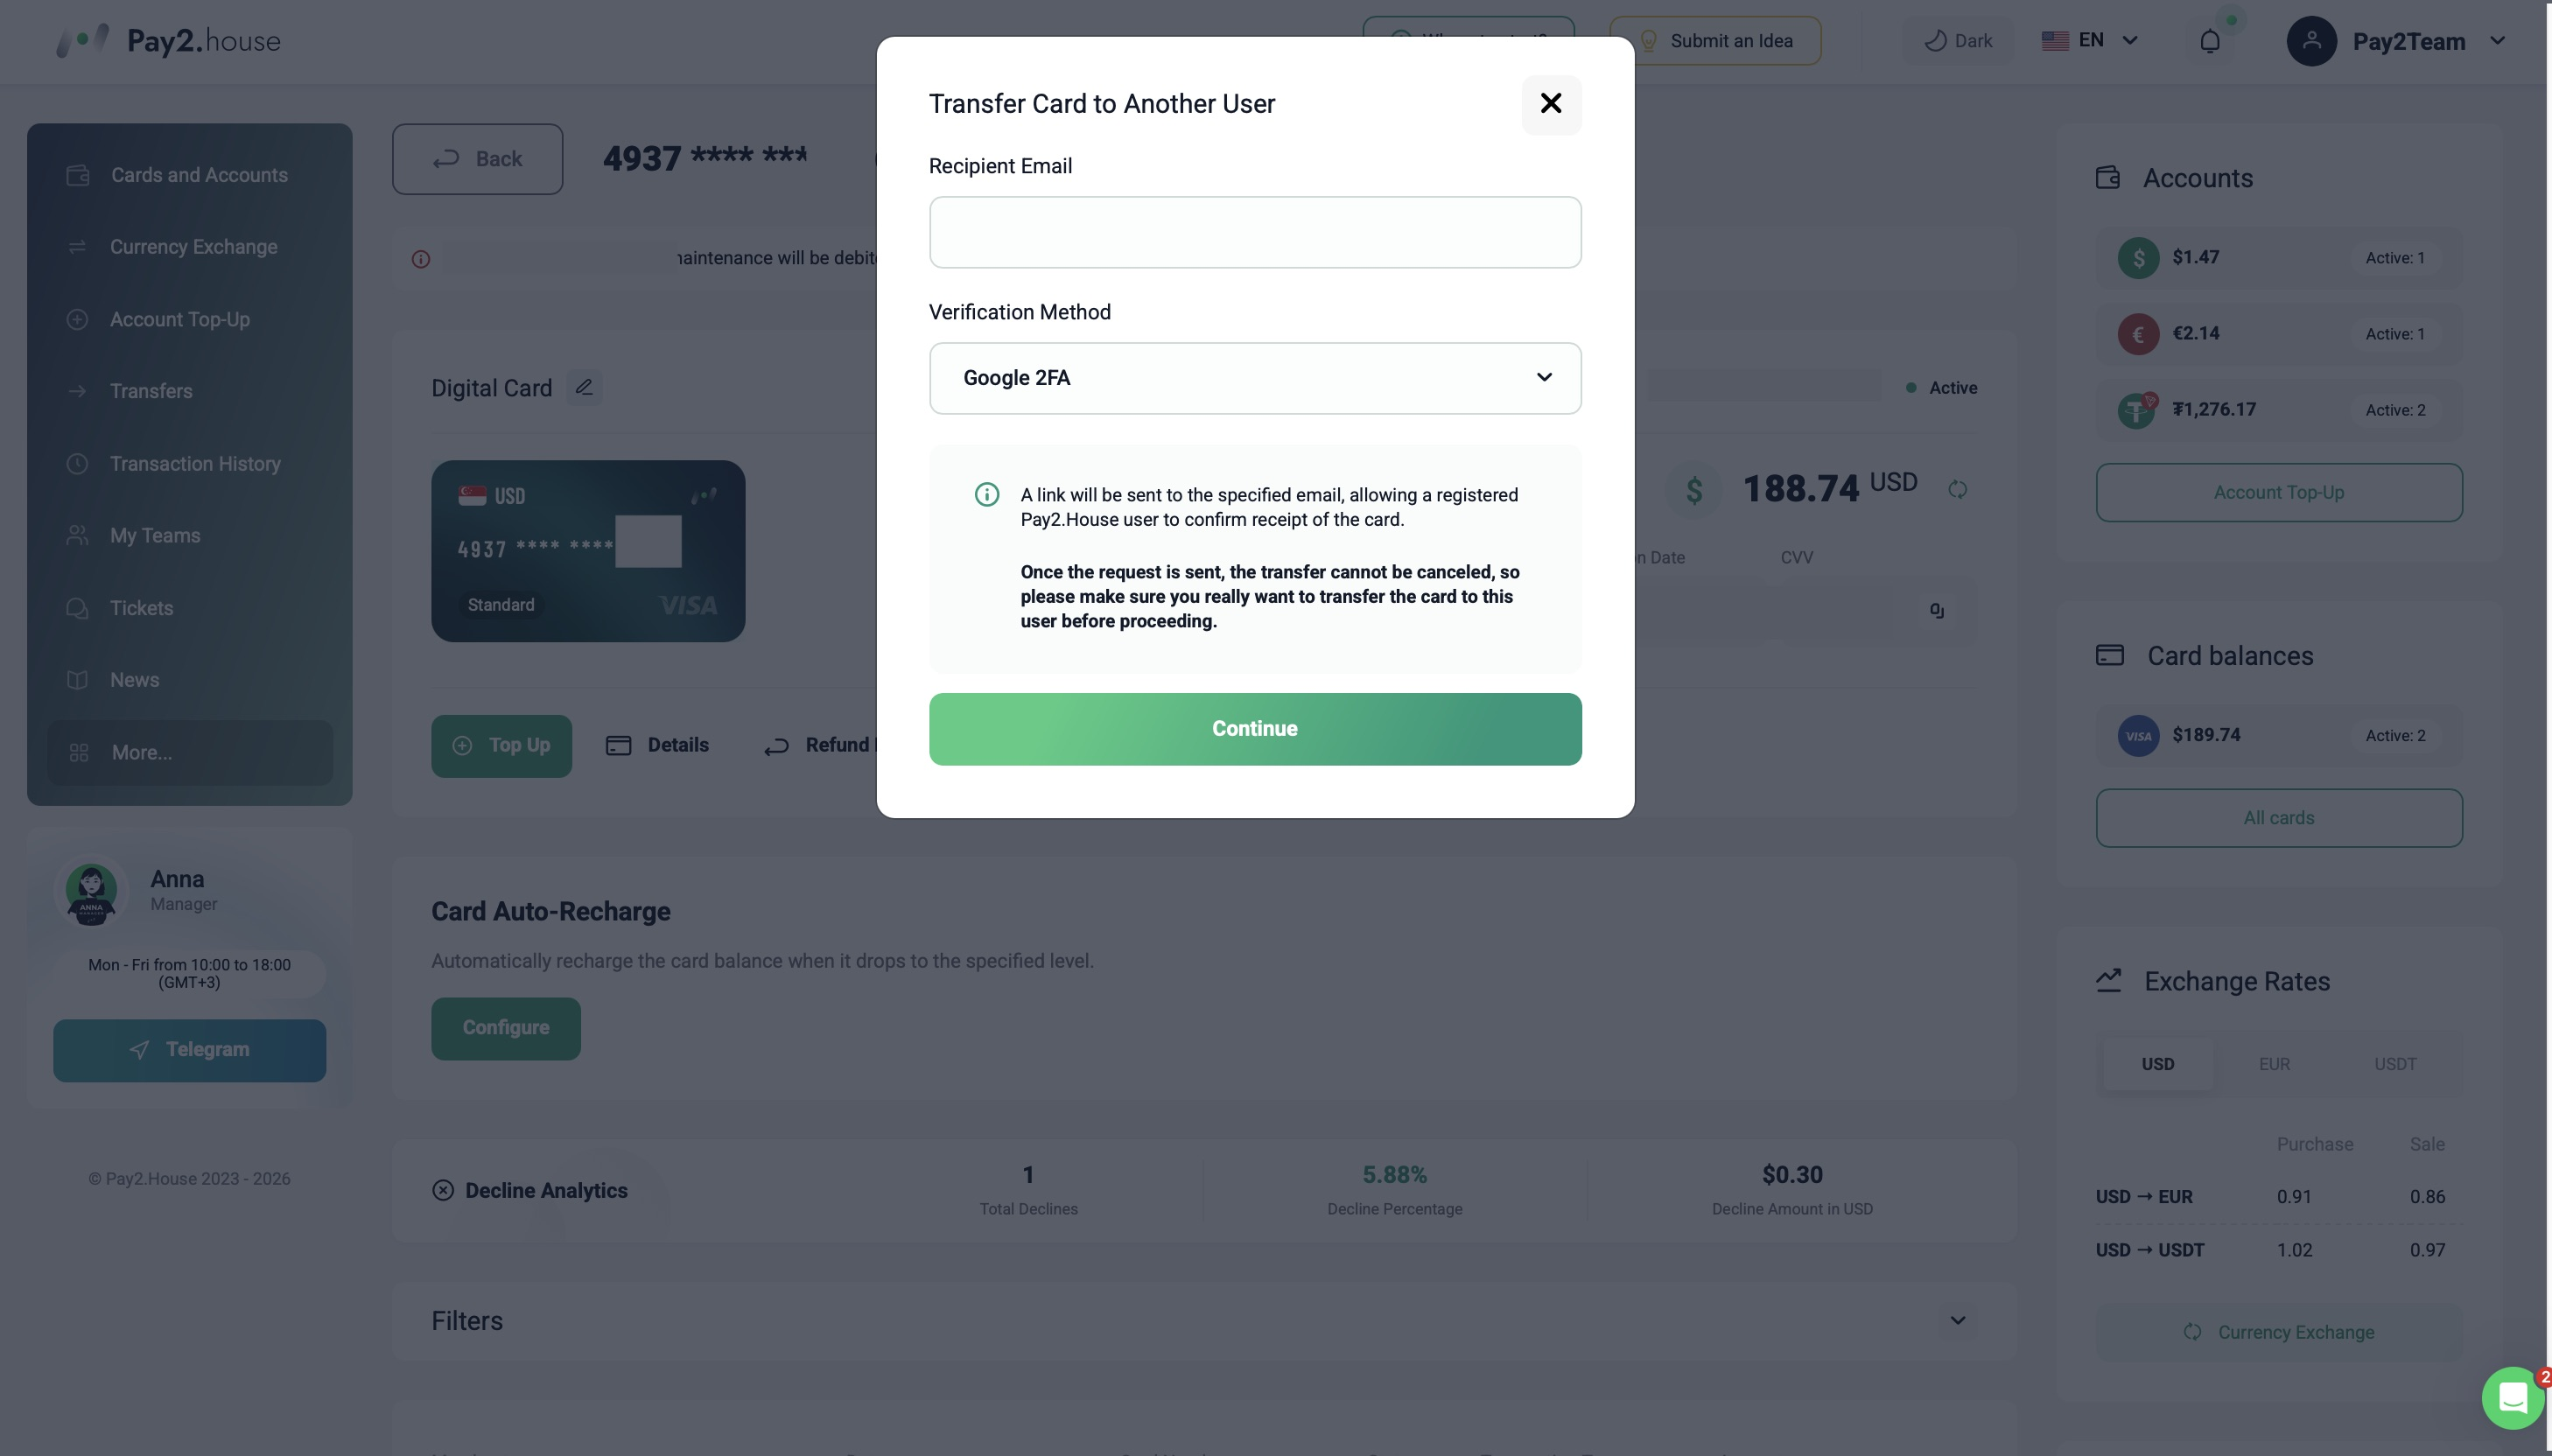
After clicking “Transfer to Client”, the card transfer window will open.
Enter the email address of the user you want to transfer the card to.
Important: this email address must be linked to an existing registered Pay2.House account.
Before submitting the request, carefully check the recipient's email address. Once the transfer request has been sent, it cannot be canceled, so make sure the card is being transferred to the correct user.
After entering the email address, click “Continue”.
Step 3. Confirm the Transfer with Google Authenticator
To confirm the operation, enter the code from Google Authenticator and click “Confirm”.
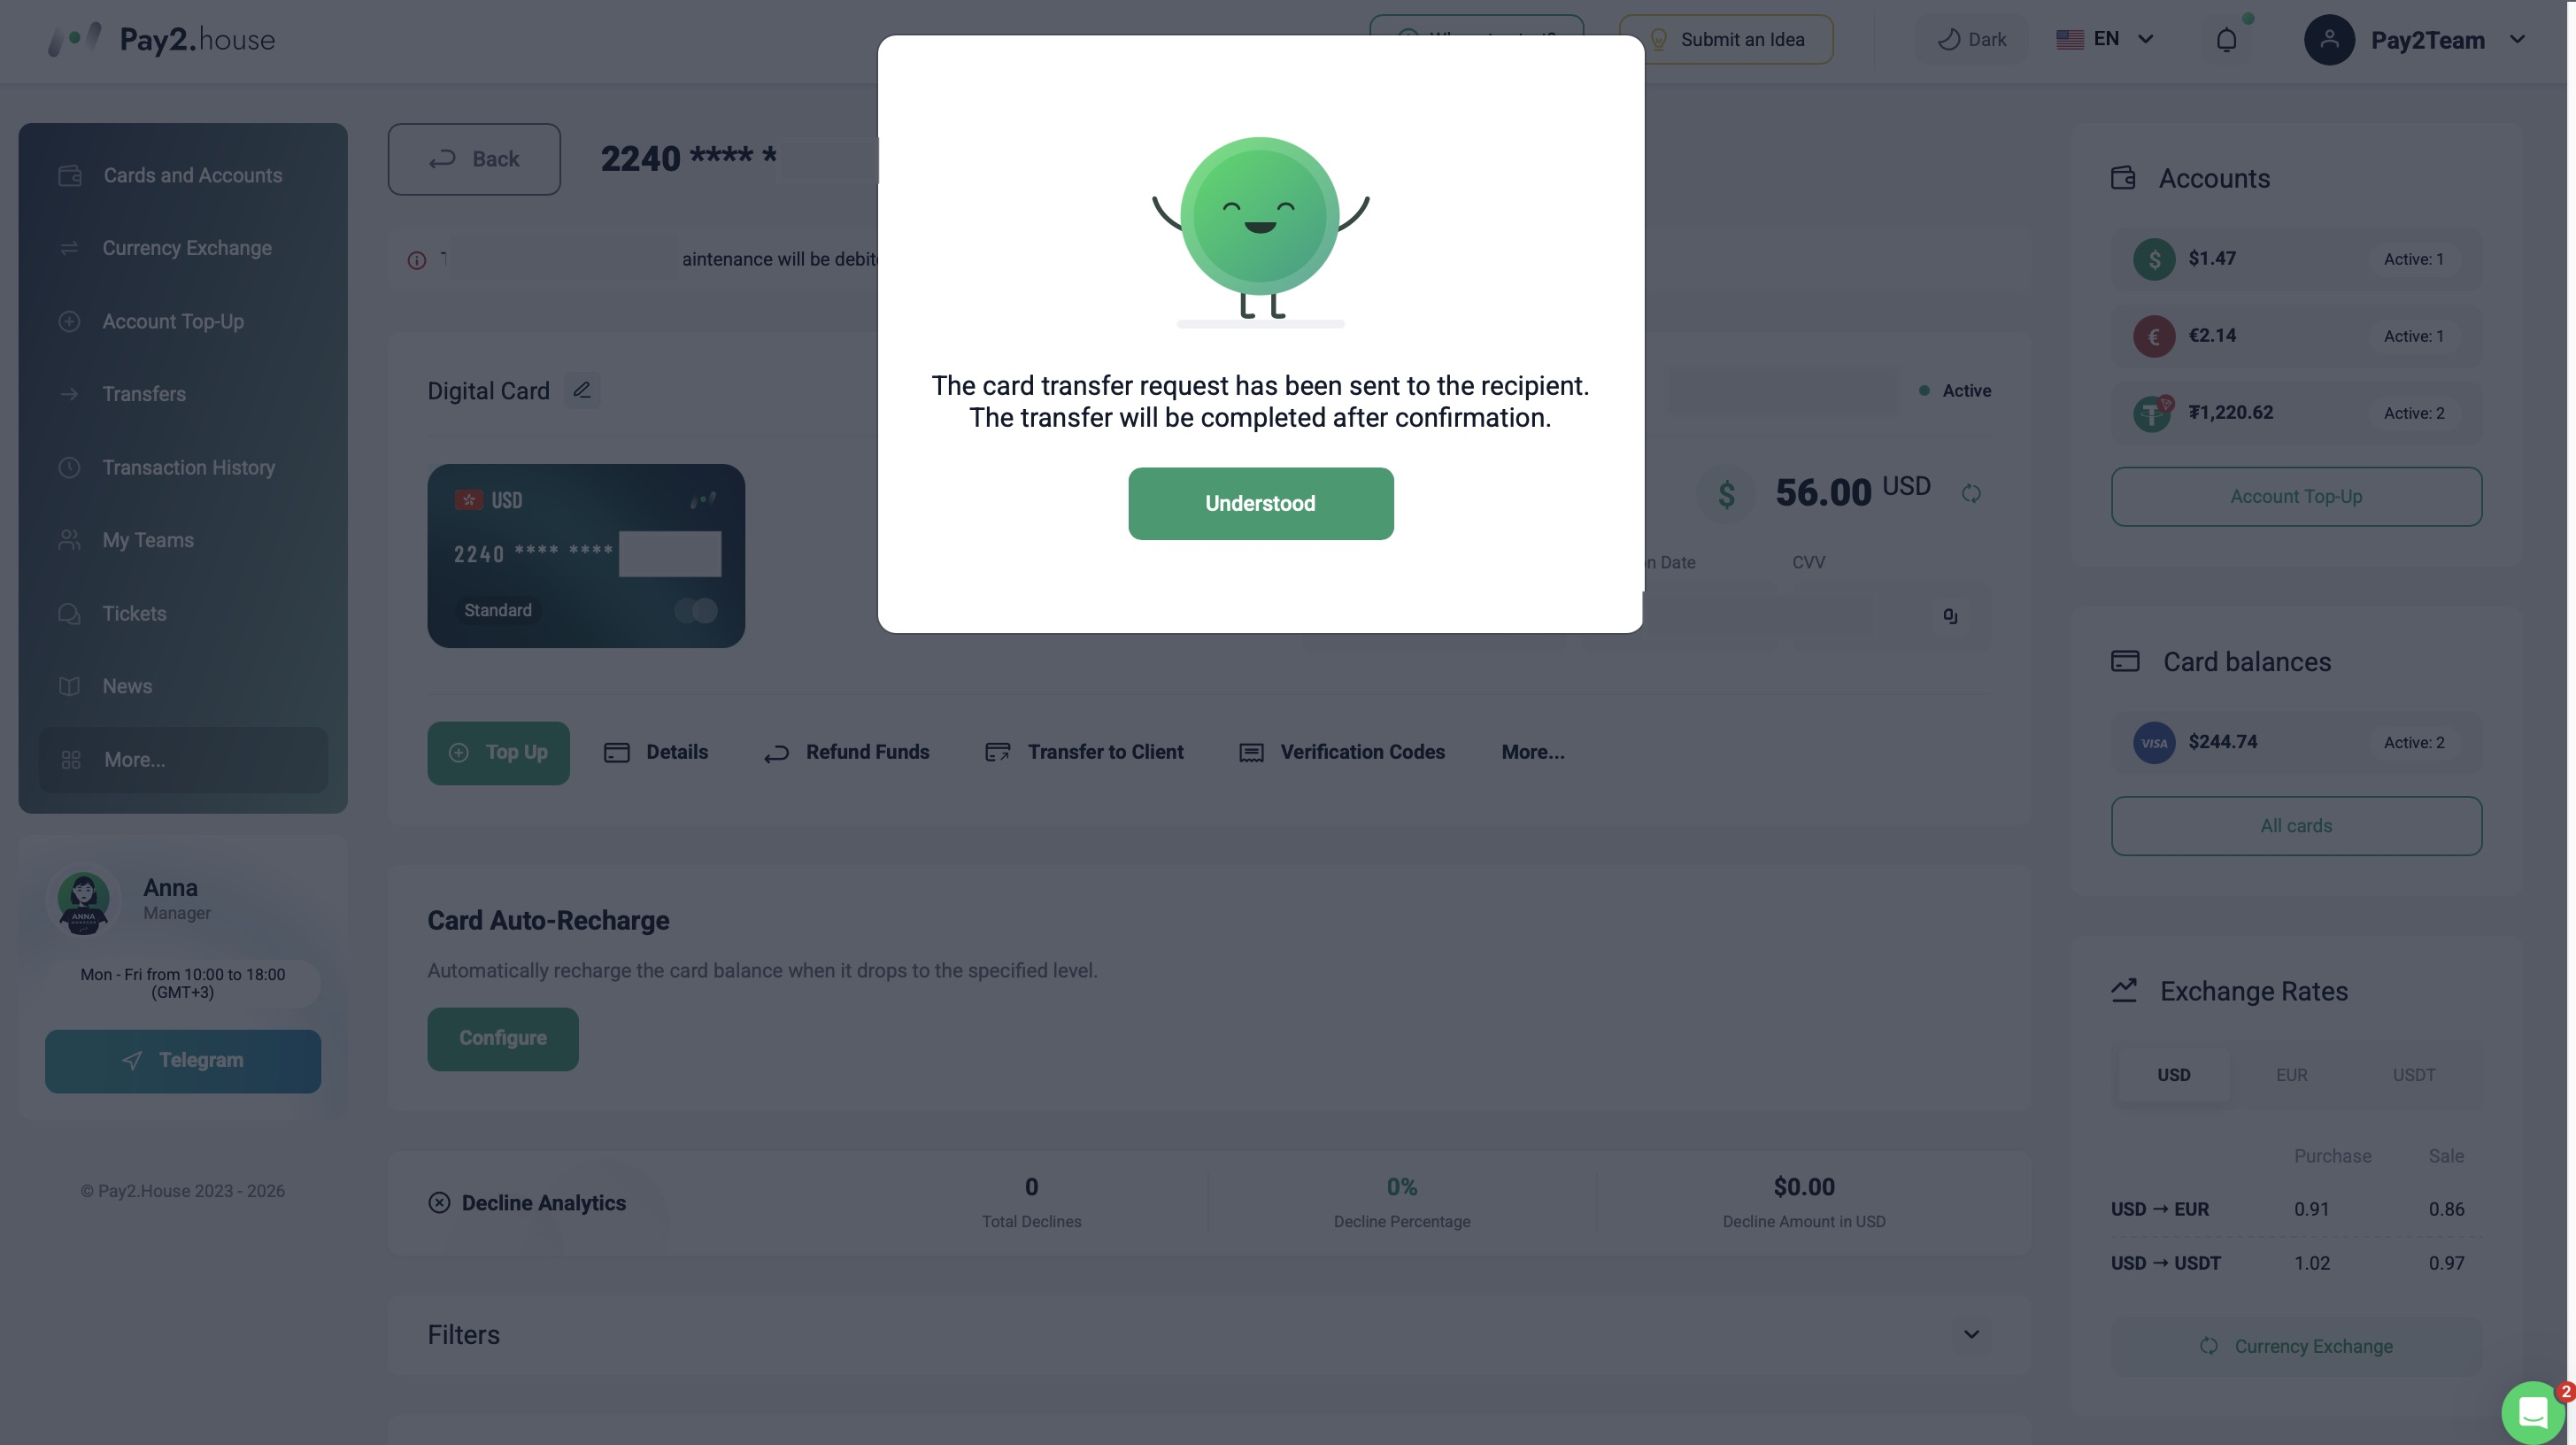
The virtual card transfer request will then be sent to the recipient.
A notification will appear confirming that the request has been successfully sent. The card transfer will only be completed after the recipient confirms it from their side.
Step 4. The Recipient Receives an Email
After the transfer request is submitted, Pay2.House will send an email to the recipient.
The email will contain information about the card transfer, including:
-
who sent the card;
-
card details;
-
the current card balance.
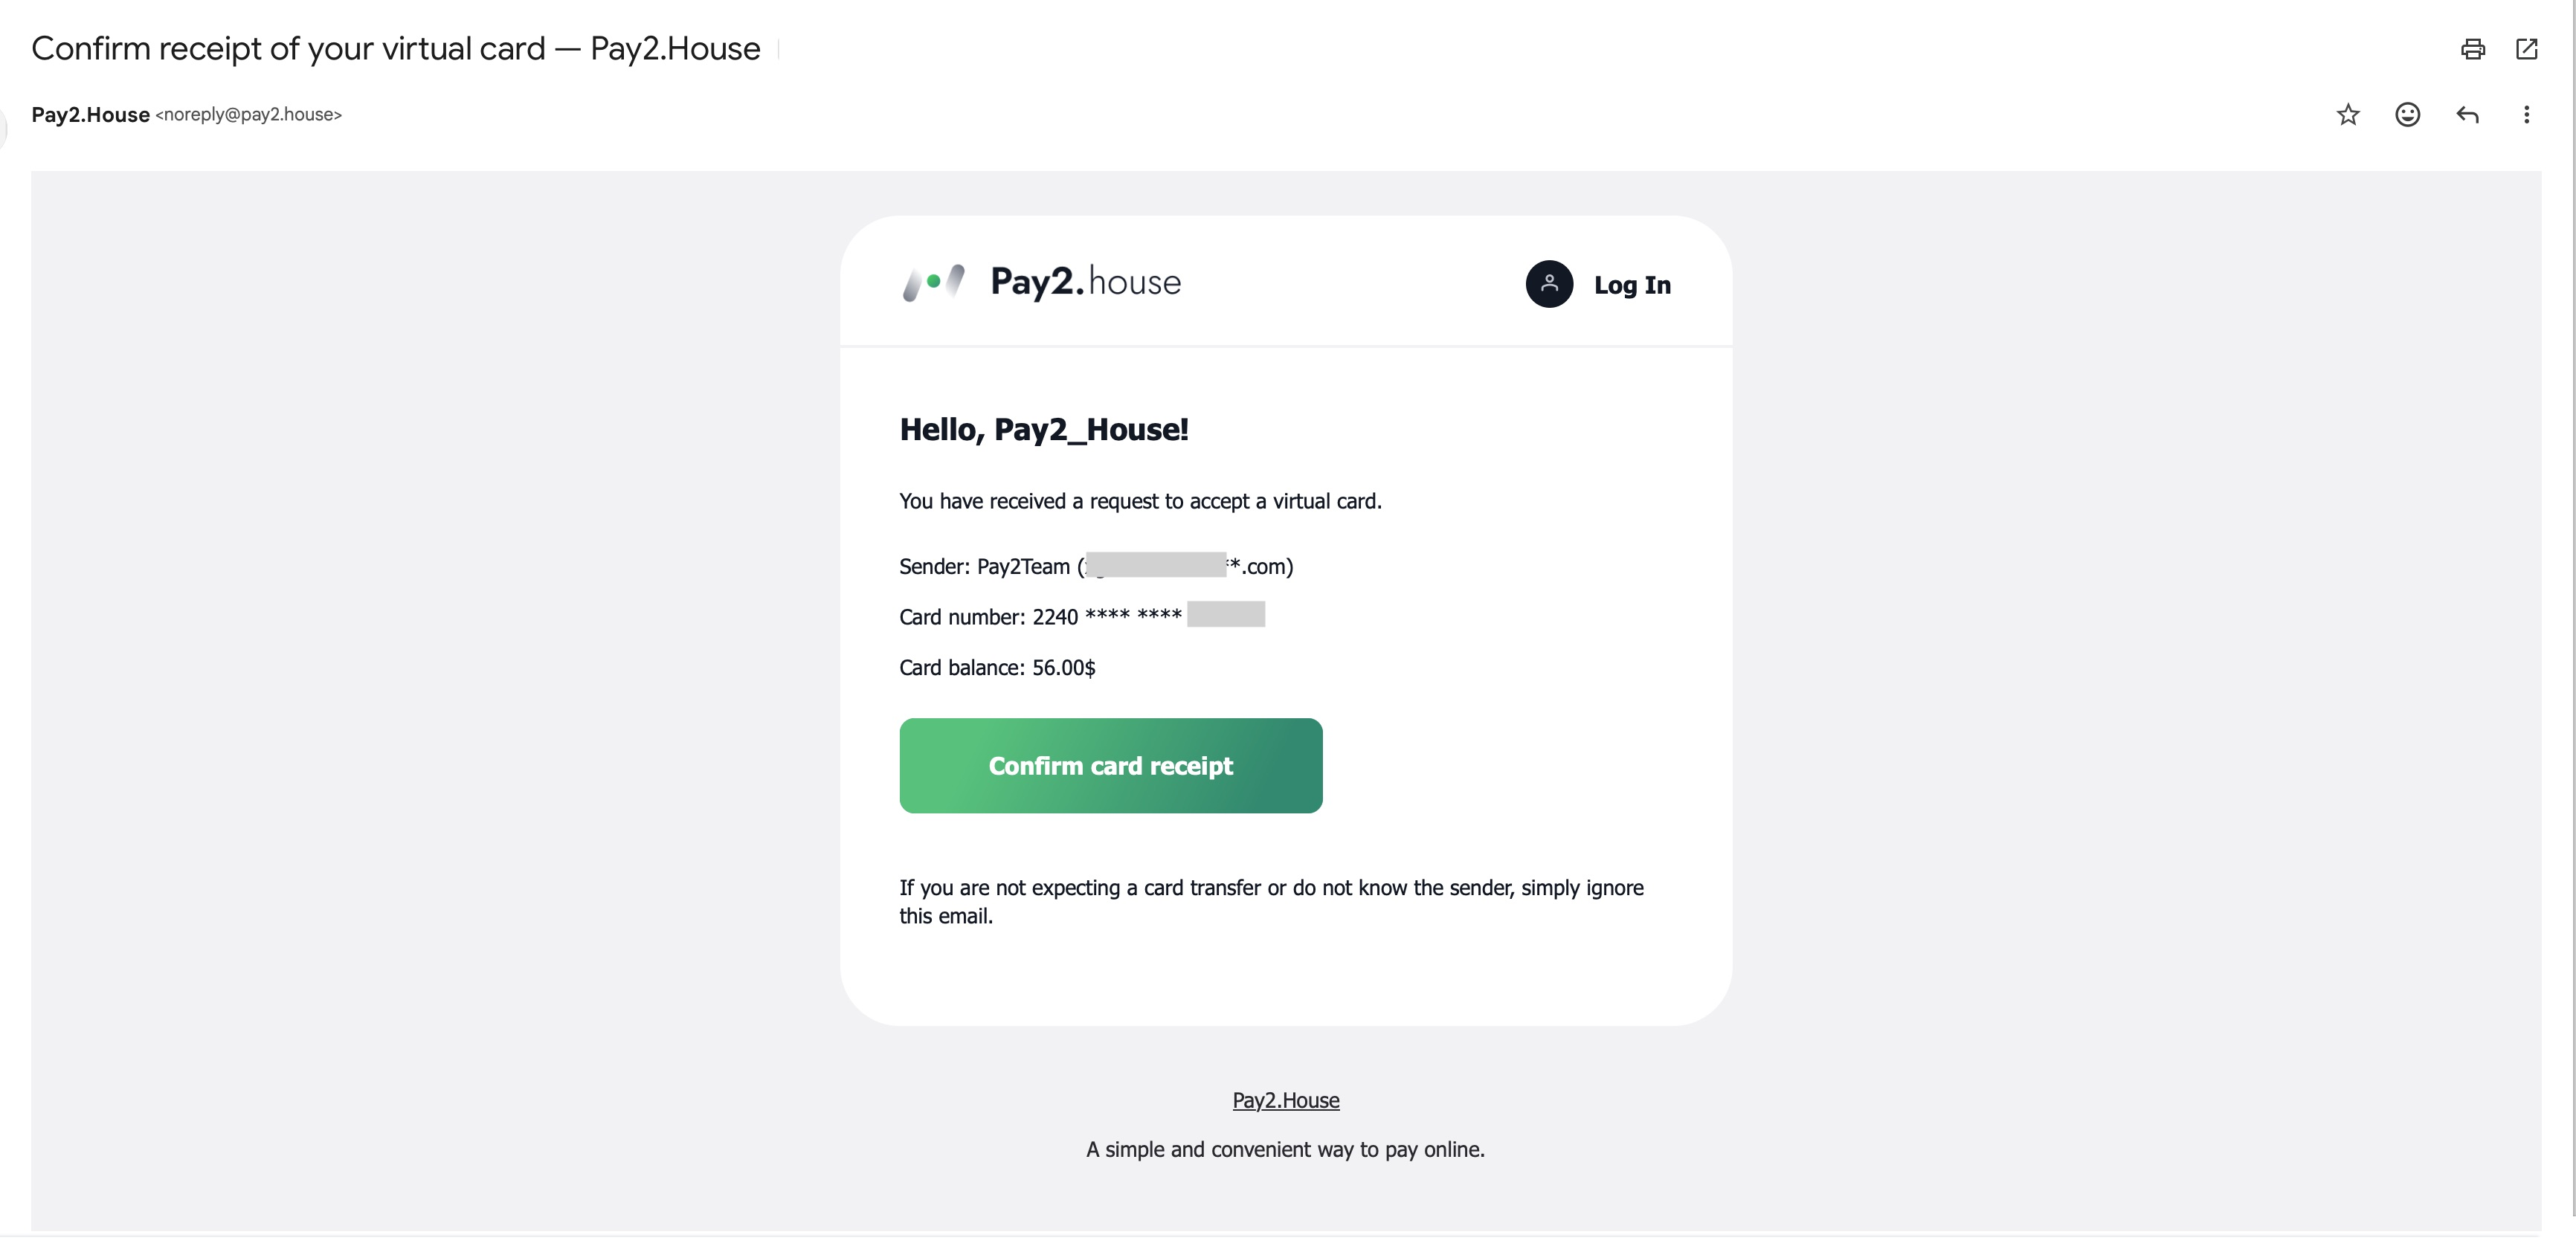
If the user is expecting the card and recognizes the sender, they should click “Confirm Card Received”.
If you were not expecting a card transfer or do not know the sender, do not confirm the request and simply ignore the email.
Step 5. Accept the Card in Pay2.House
After clicking the confirmation button in the email, the user will be redirected to their Pay2.House account.
A notification will appear showing that another user wants to transfer a virtual card to them. The sender's email address will also be displayed.
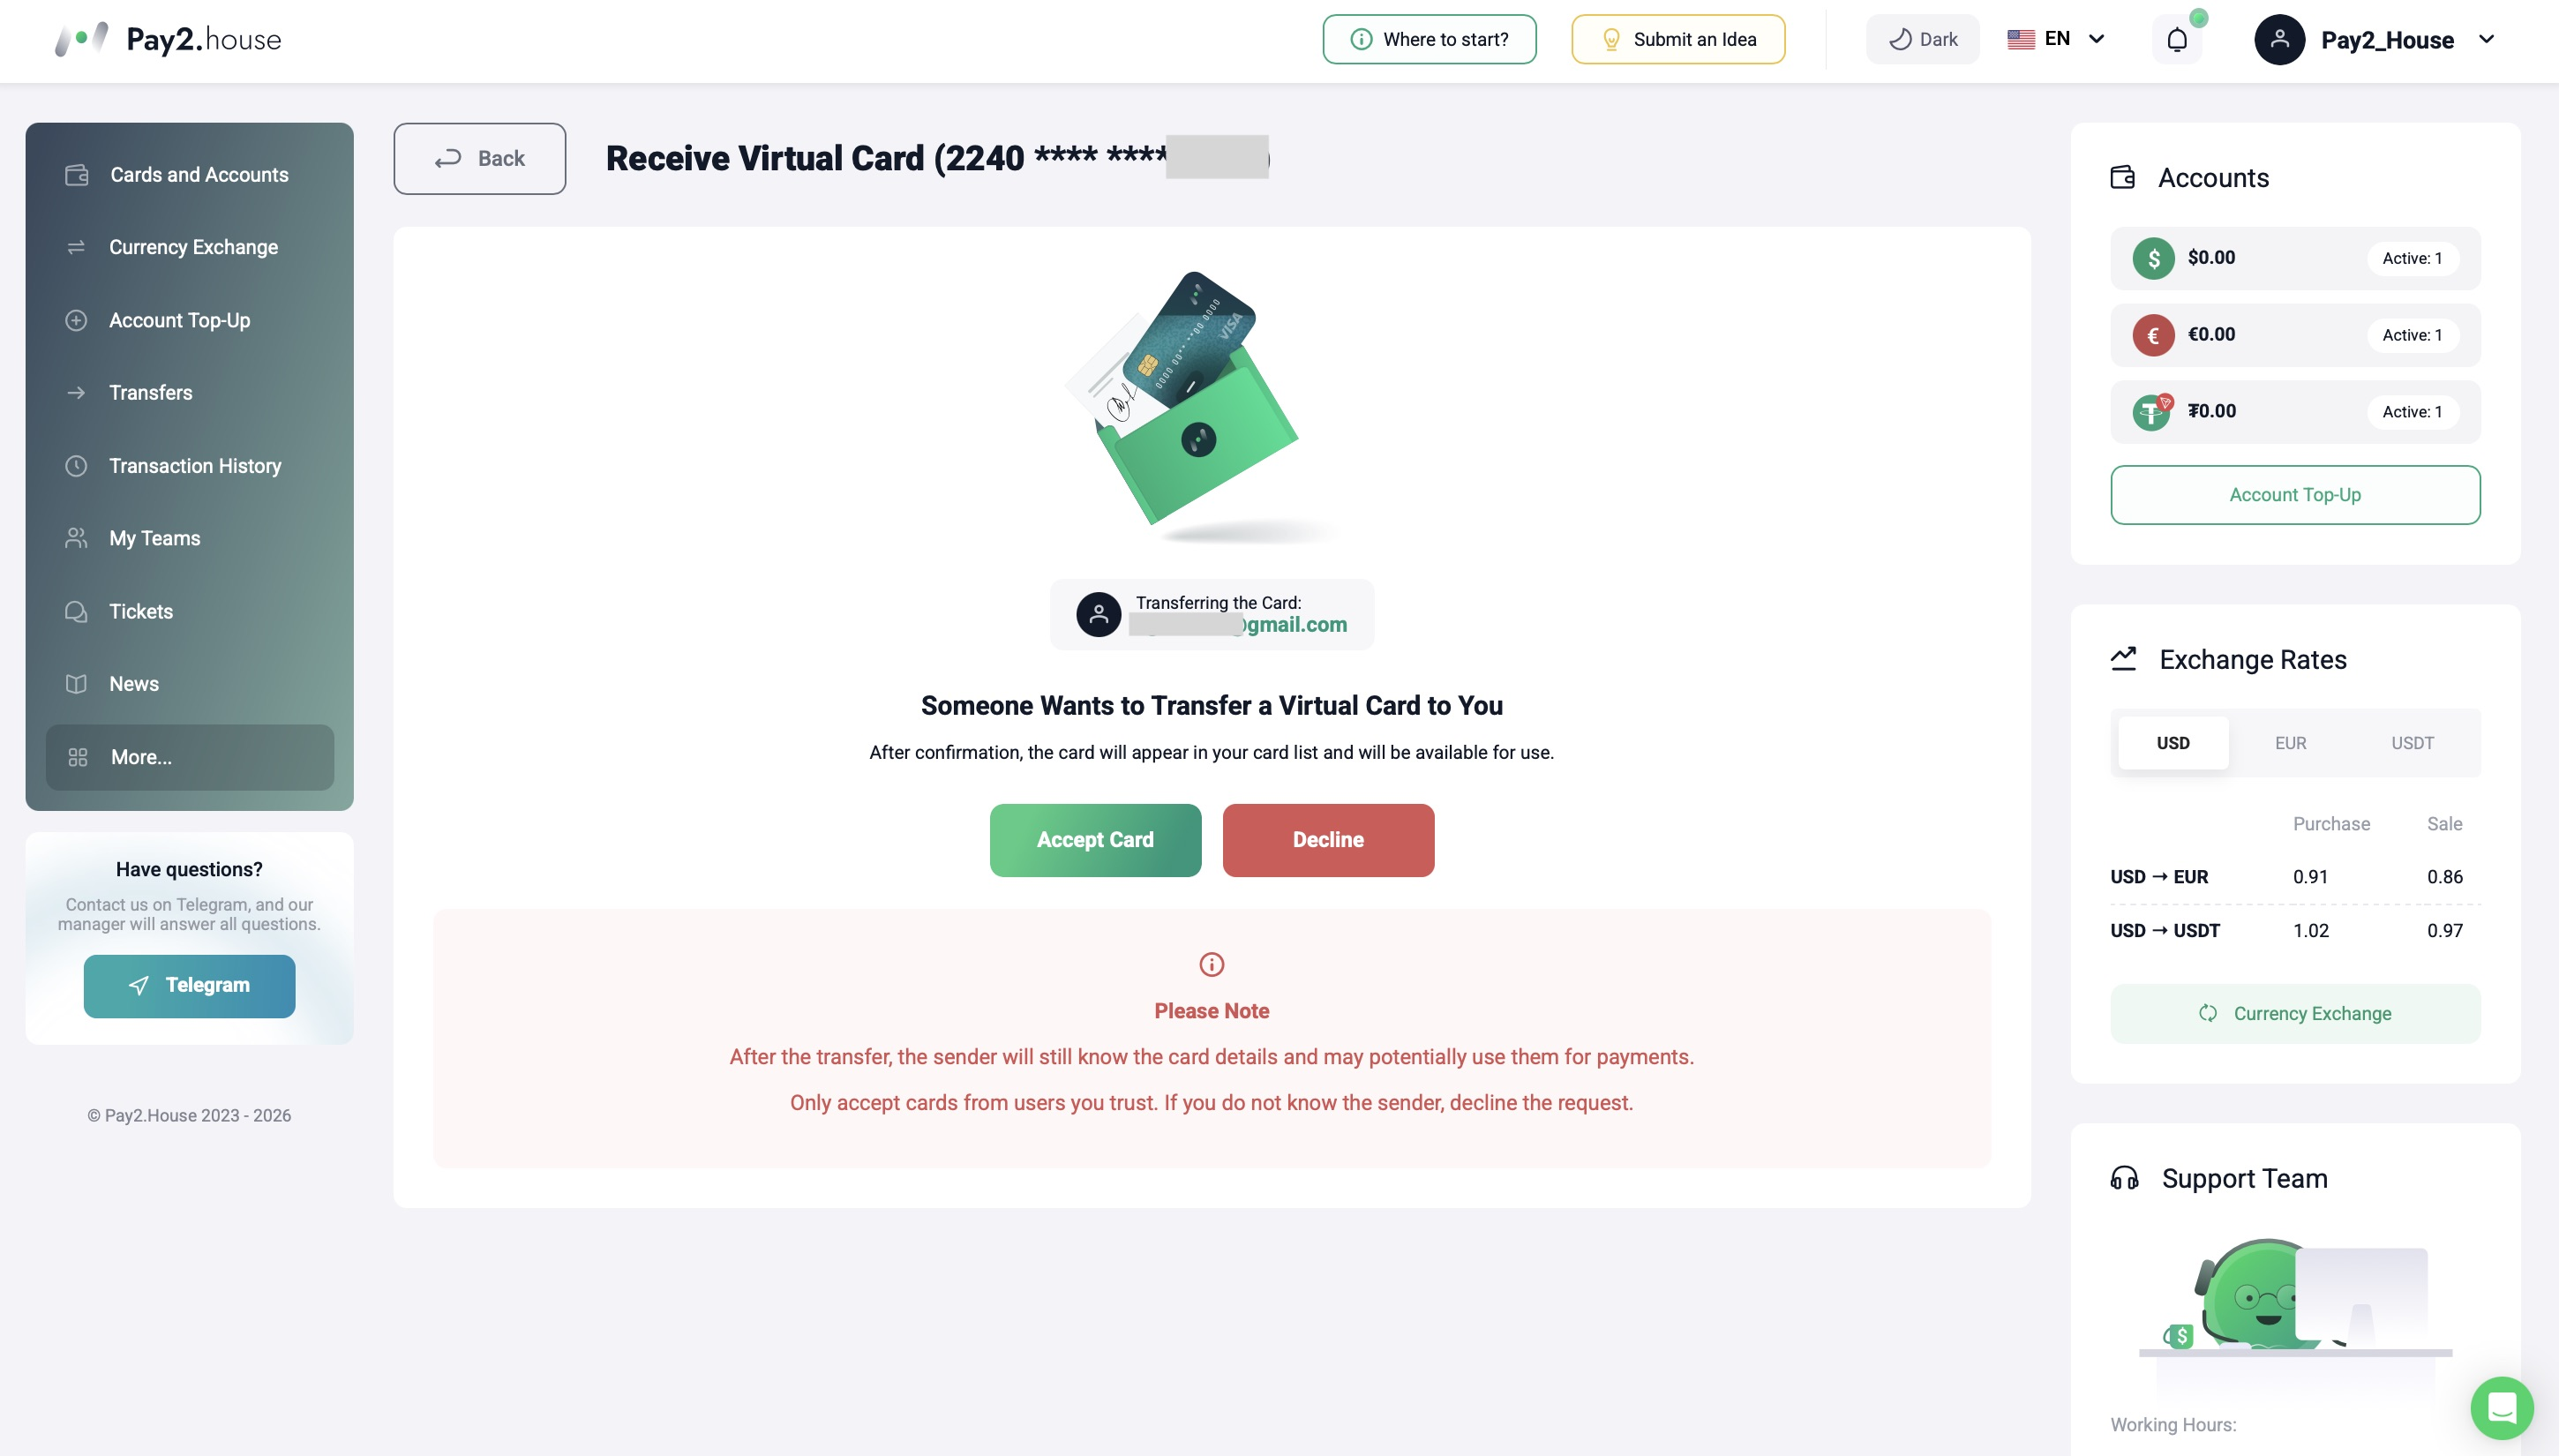
If all the details are correct, click “Accept Card”.
After confirmation, the card will appear in the “Cards and Accounts” section and will be available for the recipient to use.
If you do not know the sender or were not expecting the transfer, click “Decline”.
What Happens to the Card After the Transfer
Once the transfer is successfully confirmed, the virtual card moves to the recipient's account. The new cardholder can use and manage the card directly from their Pay2.House account.
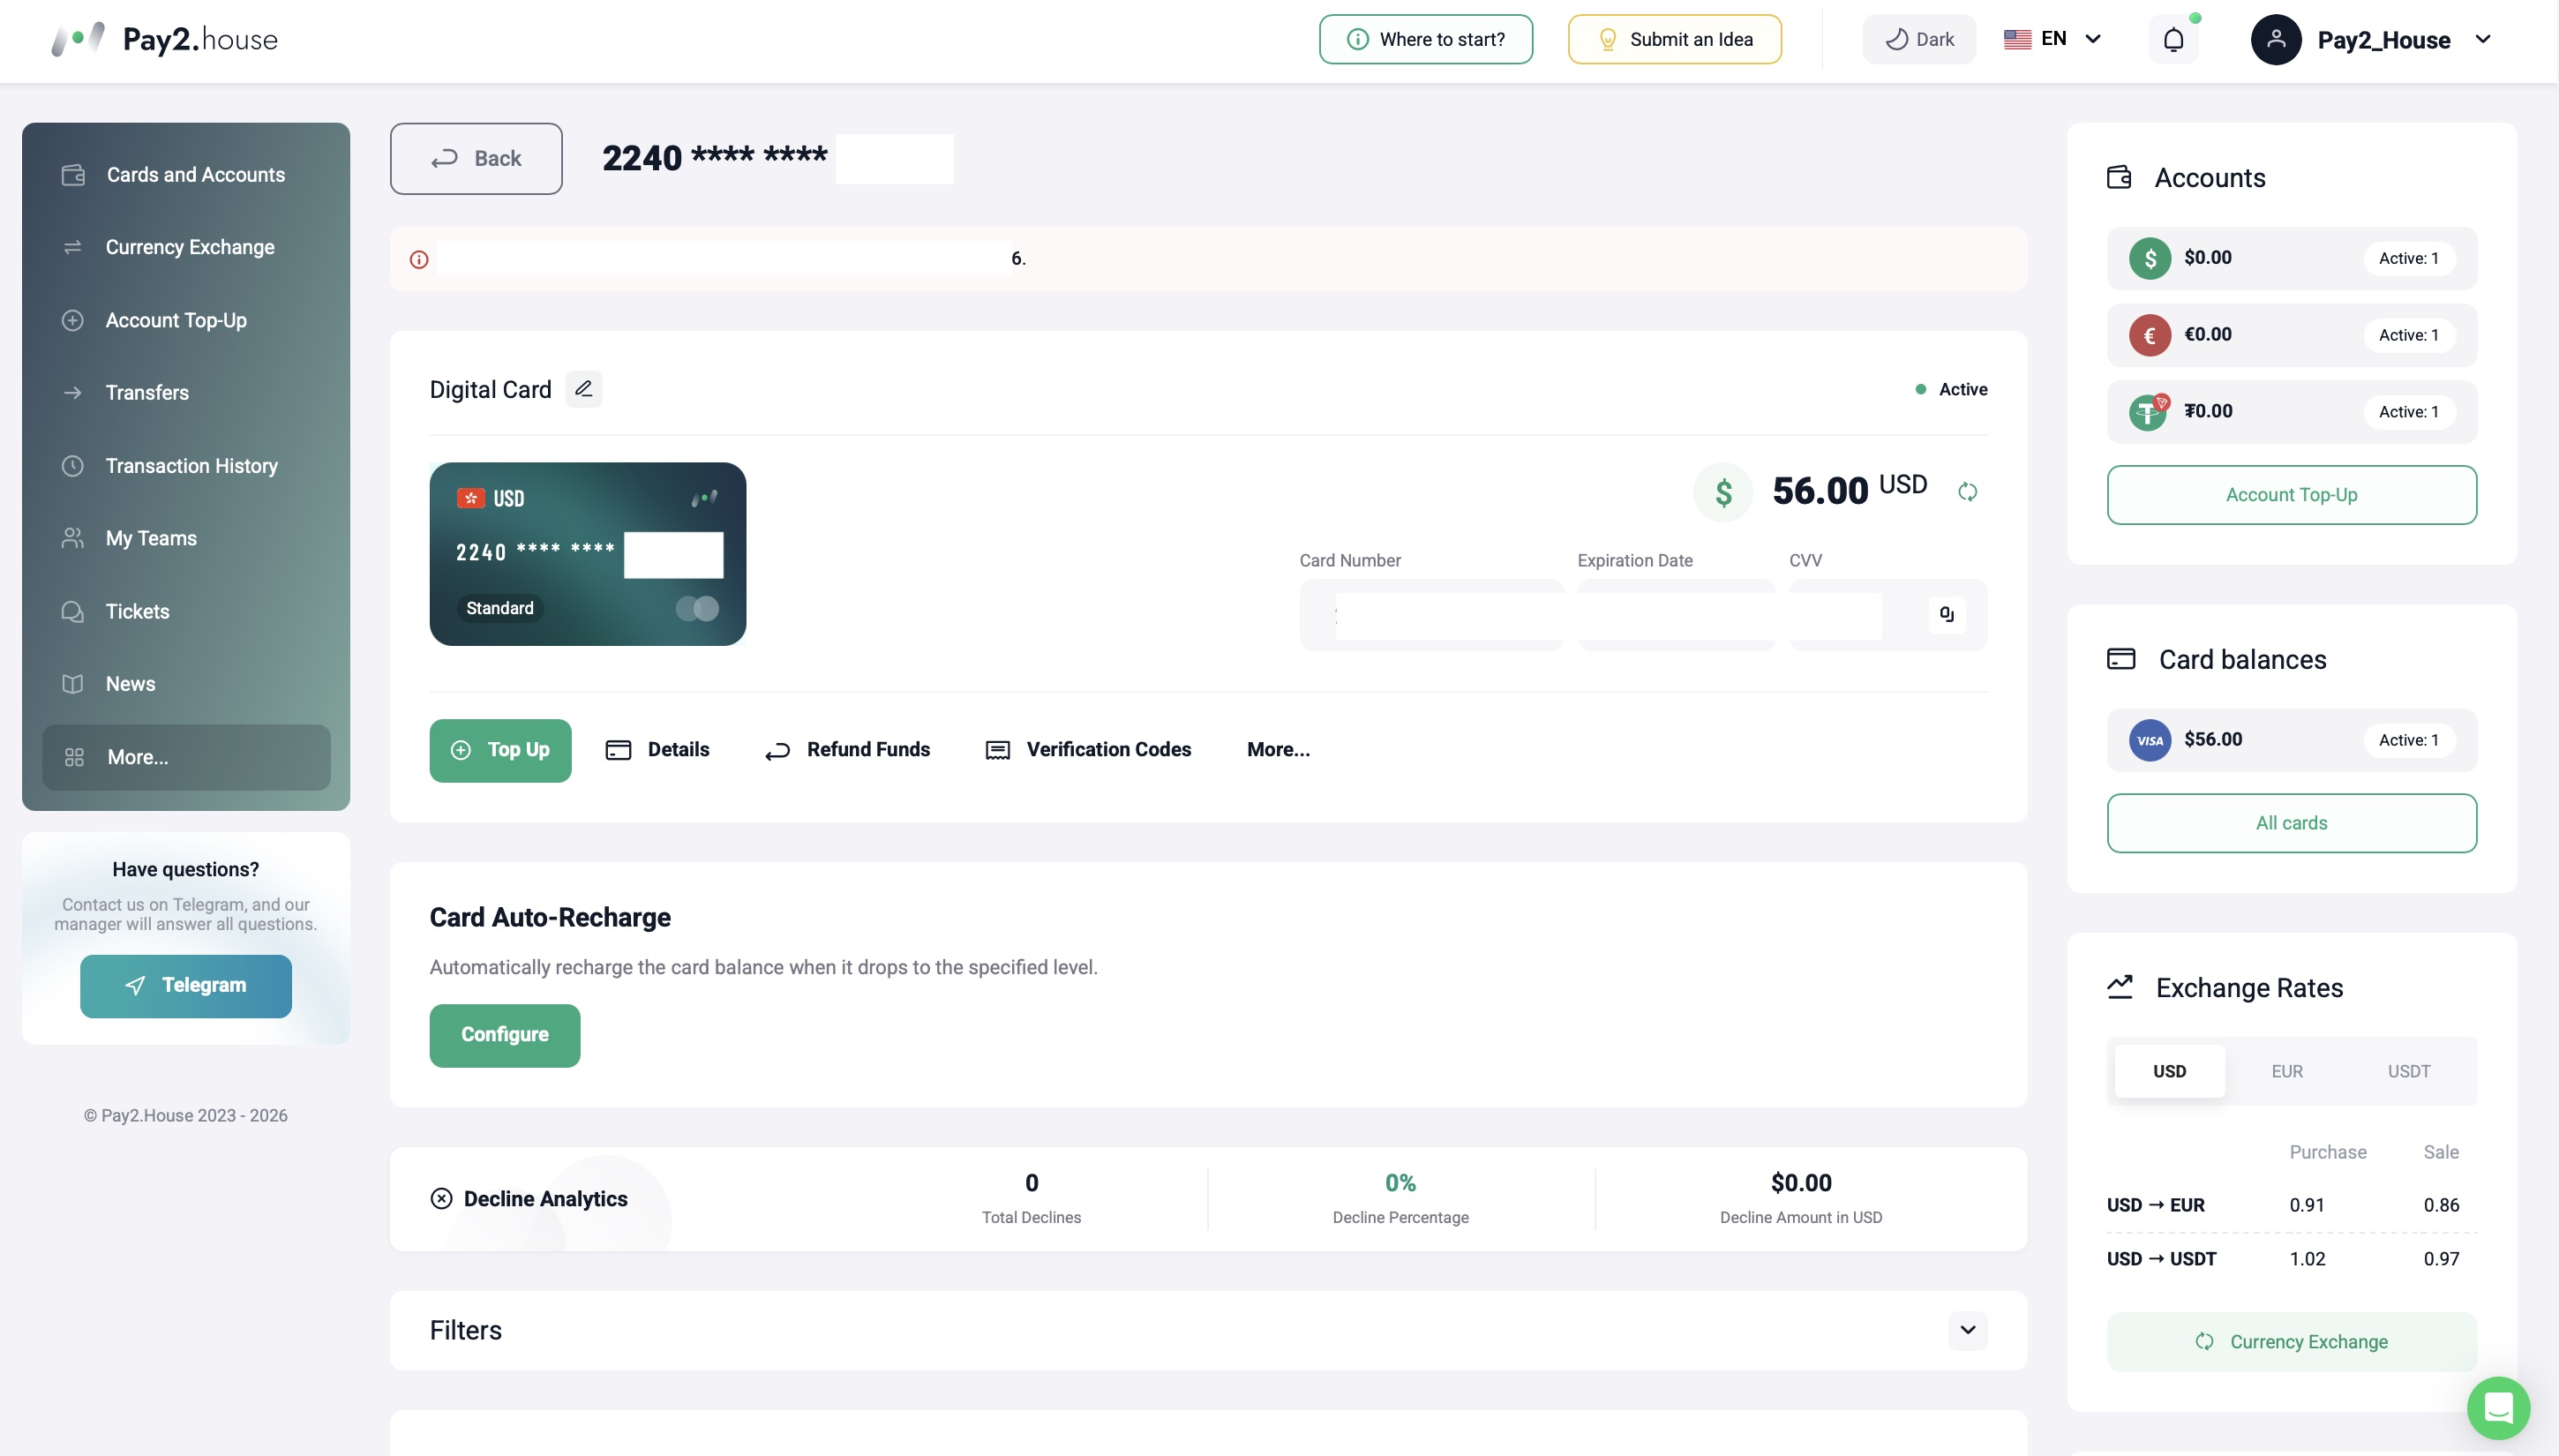
The recipient will also have access to the full transaction history of the card, including transactions made before the card was transferred.
Please note: each virtual card can only be transferred once. If a card has already been transferred from one user to another, the new cardholder will not be able to transfer it again.
Important Security Information
After the transfer, the previous cardholder may still know the card details and may potentially be able to use previously saved card information for payments.
For this reason, only accept virtual cards from users you trust.
If you do not know the sender or were not expecting to receive the card, decline the transfer request.
How to Transfer a Personal Card
Transferring a Personal Card works in the same way as transferring a Standard Card, but there is one additional requirement: both users must complete Pay2.House account verification.
If both the sender's and recipient's accounts are verified, the process remains the same:
-
Open the required Personal Card in the “Cards and Accounts” section.
-
Click “Transfer to Client”.
-
Enter the recipient's email address.
-
Confirm the operation using Google Authenticator.
-
The recipient confirms the transfer via email and accepts the card in their Pay2.House account.
After that, the Personal Card will appear in the new cardholder's “Cards and Accounts” section.
Done
Once the transfer is confirmed, the card will appear in the new user's account and will be available in the “Cards and Accounts” section.
Card transfer makes it easy to give another Pay2.House user control of an already issued virtual card without having to issue a new one.


 Telegram
 Email
Email



Be the first to share your opinion!
We value your feedback—share your thoughts.